We got the idea for this Christ-centered Advent calendar one year when we went to an Advent event at our church. We got to see what some others did for Advent, and how they prepared their hearts (and their kids, or their grandkids) for Christmas.
This one is absolutely our favourite Advent calendar.
This DIY Advent calendar is pretty simple to make up, and it tells the whole story of Christmas: from Gabriel’s appearance to Mary, announcing that she will bear God’s son, to Jesus’ birth in the stable in Bethlehem.
Each day, the kids get to take one part of the story out of it’s little stone holding-place, and add it to the bigger narrative.
I love this Advent calendar because it teaches my kids about the Christmas story. And because we are repeating the story from the beginning each day, they get pretty good at knowing the whole thing by Christmas! Read on to learn how to make your own DIY Christmas story Advent calendar – sew and no-sew versions.

How to Make the Christmas Story Advent Calendar
This Advent calendar is fairly simple to make, especially if you have some basic sewing skills. If you have no sewing skills – fear not: fabric glue will be your best friend for this project.
Materials Needed
- sewing machine and thread (if you have some basic sewing skills) or fabric glue (if you have no sewing skills)
- scissors
- felt in 2 shades of brown, white, yellow, and 2 additional colours for Mary and Joseph
- embroidery thread to match felt (optional)
- 1 large swatch of fabric (buy a yard of fabric at the craft store or use an upcycled bedsheet)
- another large swatch of fabric in a complementary colour (for the road)
- string, twine, etc. to hang the Advent calendar
- a long dowel or a long, sturdy stick (also to hang the Advent calendar)
How to Assemble the Christmas Story Advent Calendar
- First, lay your base fabric out on a table and fold over a piece at the top, to make the ‘pocket’ that will hold the stick or the dowel (for hanging up your Advent calendar). Either sew the fabric down, or use fabric glue.
- Cut out a road for your Advent calendar. I did this by placing my complementary colour on top of my base fabric, tracing out a road design, and then cutting out my road.
- Either sew the road onto the base fabric or use fabric glue to fasten it down.
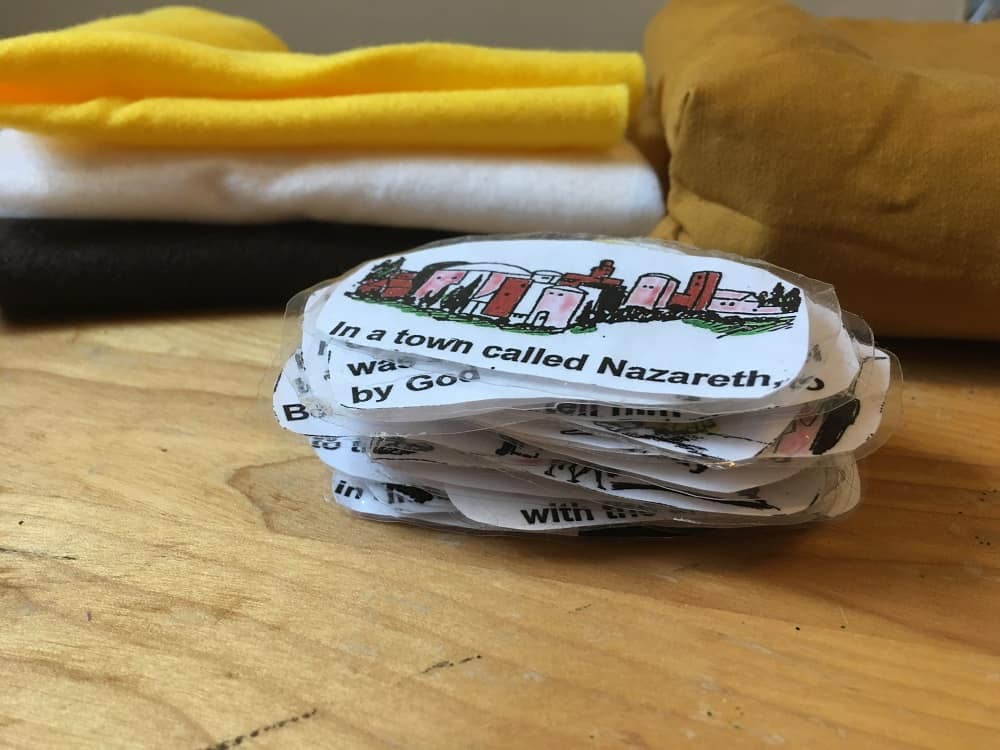
- Cut out the story stones from the template.
- It helps if you write the number of the story stone (from 1 to 25) on the back before laminating. That way, putting the story in order each year won’t be a gargantuan task.
- Laminate your story stones with laminate paper (or packing tape will do in a pinch).
- Stick a small piece of velcro (I cut small pieces of velcro with adhesive backing for this stage) and stick it on the back of each story stone. Make sure you use the picky part of the velcro (the ‘hook’ part, not the soft ‘loop’ part). This will allow your story stones to stick to the front of the felt rocks.
- Cut out rocks from 1 shade of brown felt. Your rocks need to be the same shape as your story stones, and slightly larger in size. (The story pieces will hide inside the felt stones.)
- Place all 25 felt rocks along your road. You can play around with location and spacing until you get something that feels right.
- Glue down your felt rocks, once you’ve settled on their placement. (I used hot glue. Fabric glue is also a good choice.)
- Cut out some shapes to complement your story. I cut out a star, an angel, and a manager with baby Jesus, Mary, and Joseph.
- Optional: use embroidery thread to sew around all the edges of your felt pieces. This is not necessary, but it does make your Advent calendar look more polished, and it will make the various pieces stay in place longer.
Get your FREE printable Advent calendar template here. (Includes all the verses with pictures. Just cut out and laminate.)

How to Use the Christmas Story Advent Calendar
My kids love this calendar because they get to pull out a piece of the story each day until Christmas.
- On the first day of Advent, pull out the first story stone from its fabric hiding place. Stick it on the front of the felt stone and begin reading the story.
- Each day, pull out another story stone and stick it on the front of the fabric rock. Read the story from the beginning, up to the day you’re on.
- By Christmas, you will have the whole story: from Gabriel’s appearance to Mary to Jesus’ birth. Hooray!