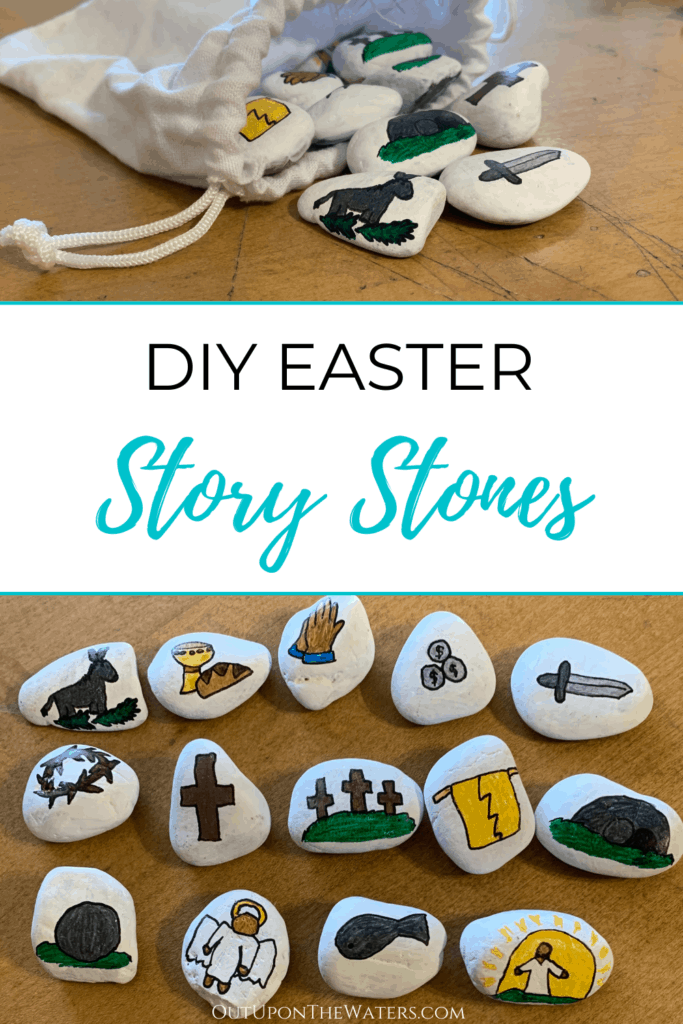
Easter story stones (also known as resurrection story stones) are a fun and creative way to tangible engage with the story of Jesus’ death and resurrection. We use these every year with our kids to help tell the Easter story.
Easter is one of my absolute favourite times of year. We get to celebrate Jesus’ victory over sin and death, the promise of resurrection, and the promise that God will one day restore everything that is broken about our world. One way to keep the real meaning of Easter at the forefront (instead of it getting lost amidst all those chocolate eggs and bunnies) is to tell the story of Jesus’ death and resurrection each year with your kids. If you do this in a fun and creative way, it will make the experience more memorable and more likely to stick with your kids.
Easter story stones are a great way to get your kids tangibly engaged with the story of Jesus’ death and resurrection. They can play with the stones, and they can use them to retell the story in creative ways.
[This post contains affiliate links. Using these links means I may earn a percentage of the purchase at no extra cost to you. As an amazon associate, I receive a percentage of qualifying purchases. View our disclosure policy here.]
What are Easter Story Stones
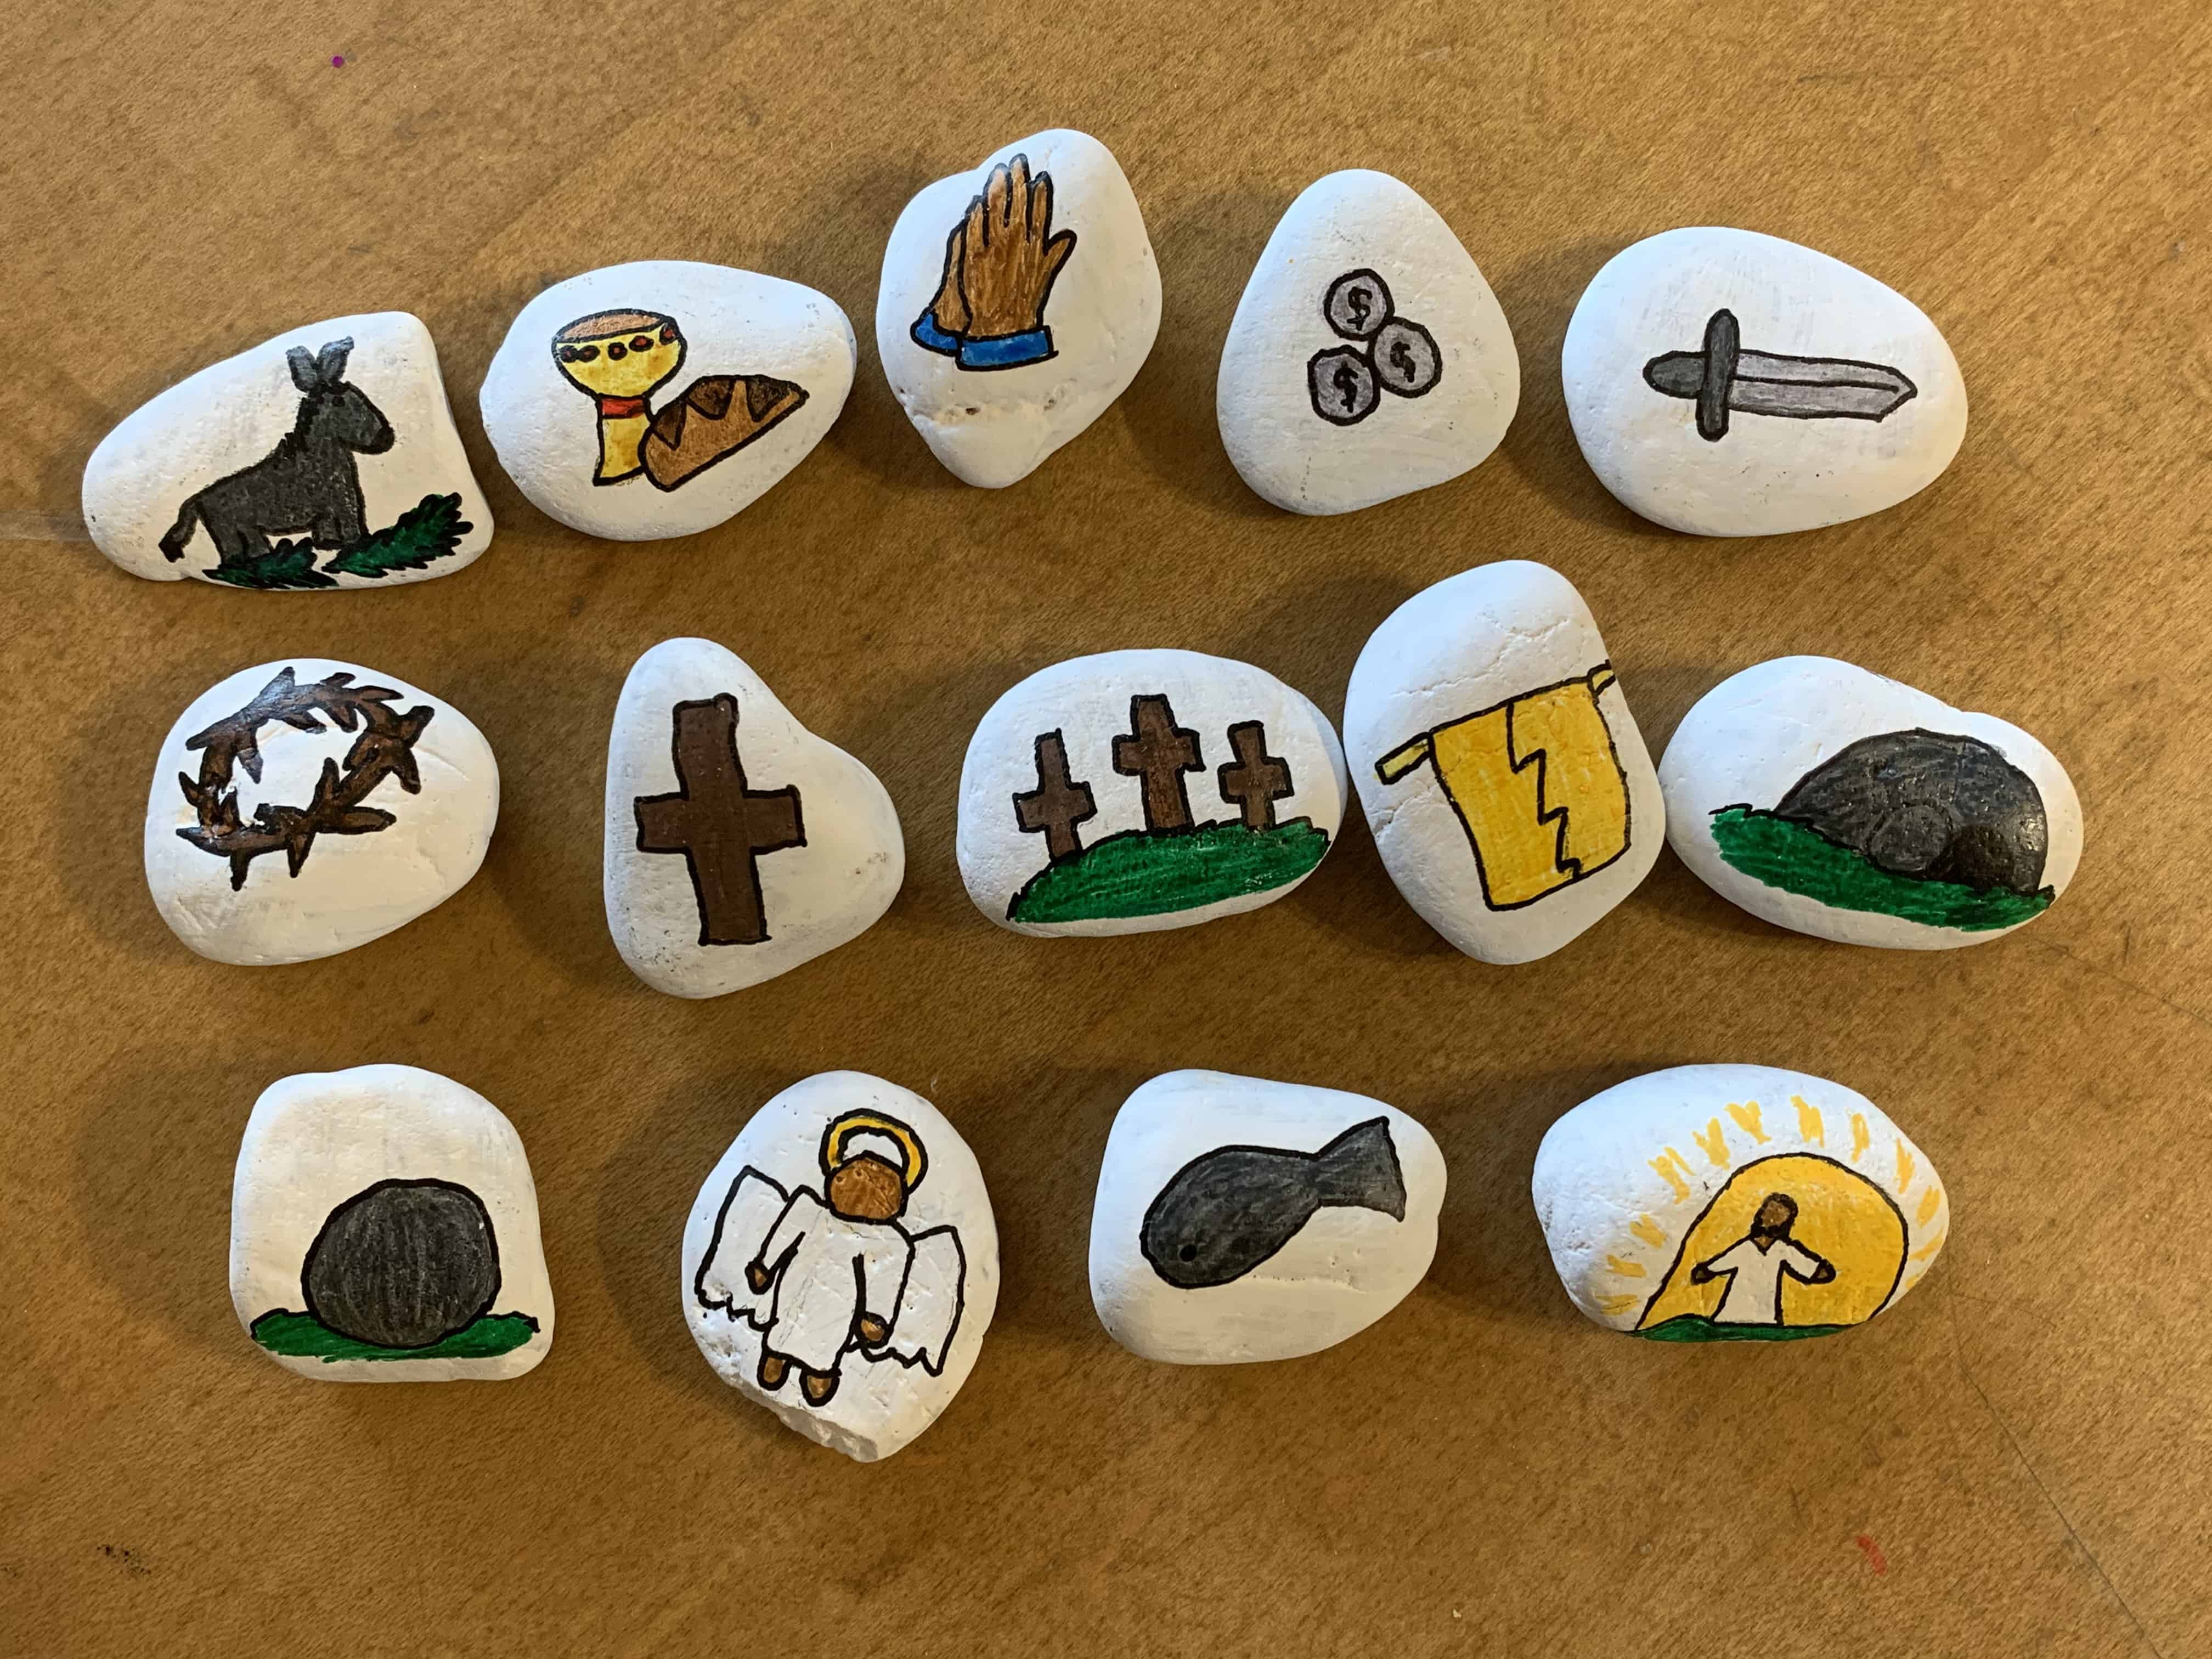
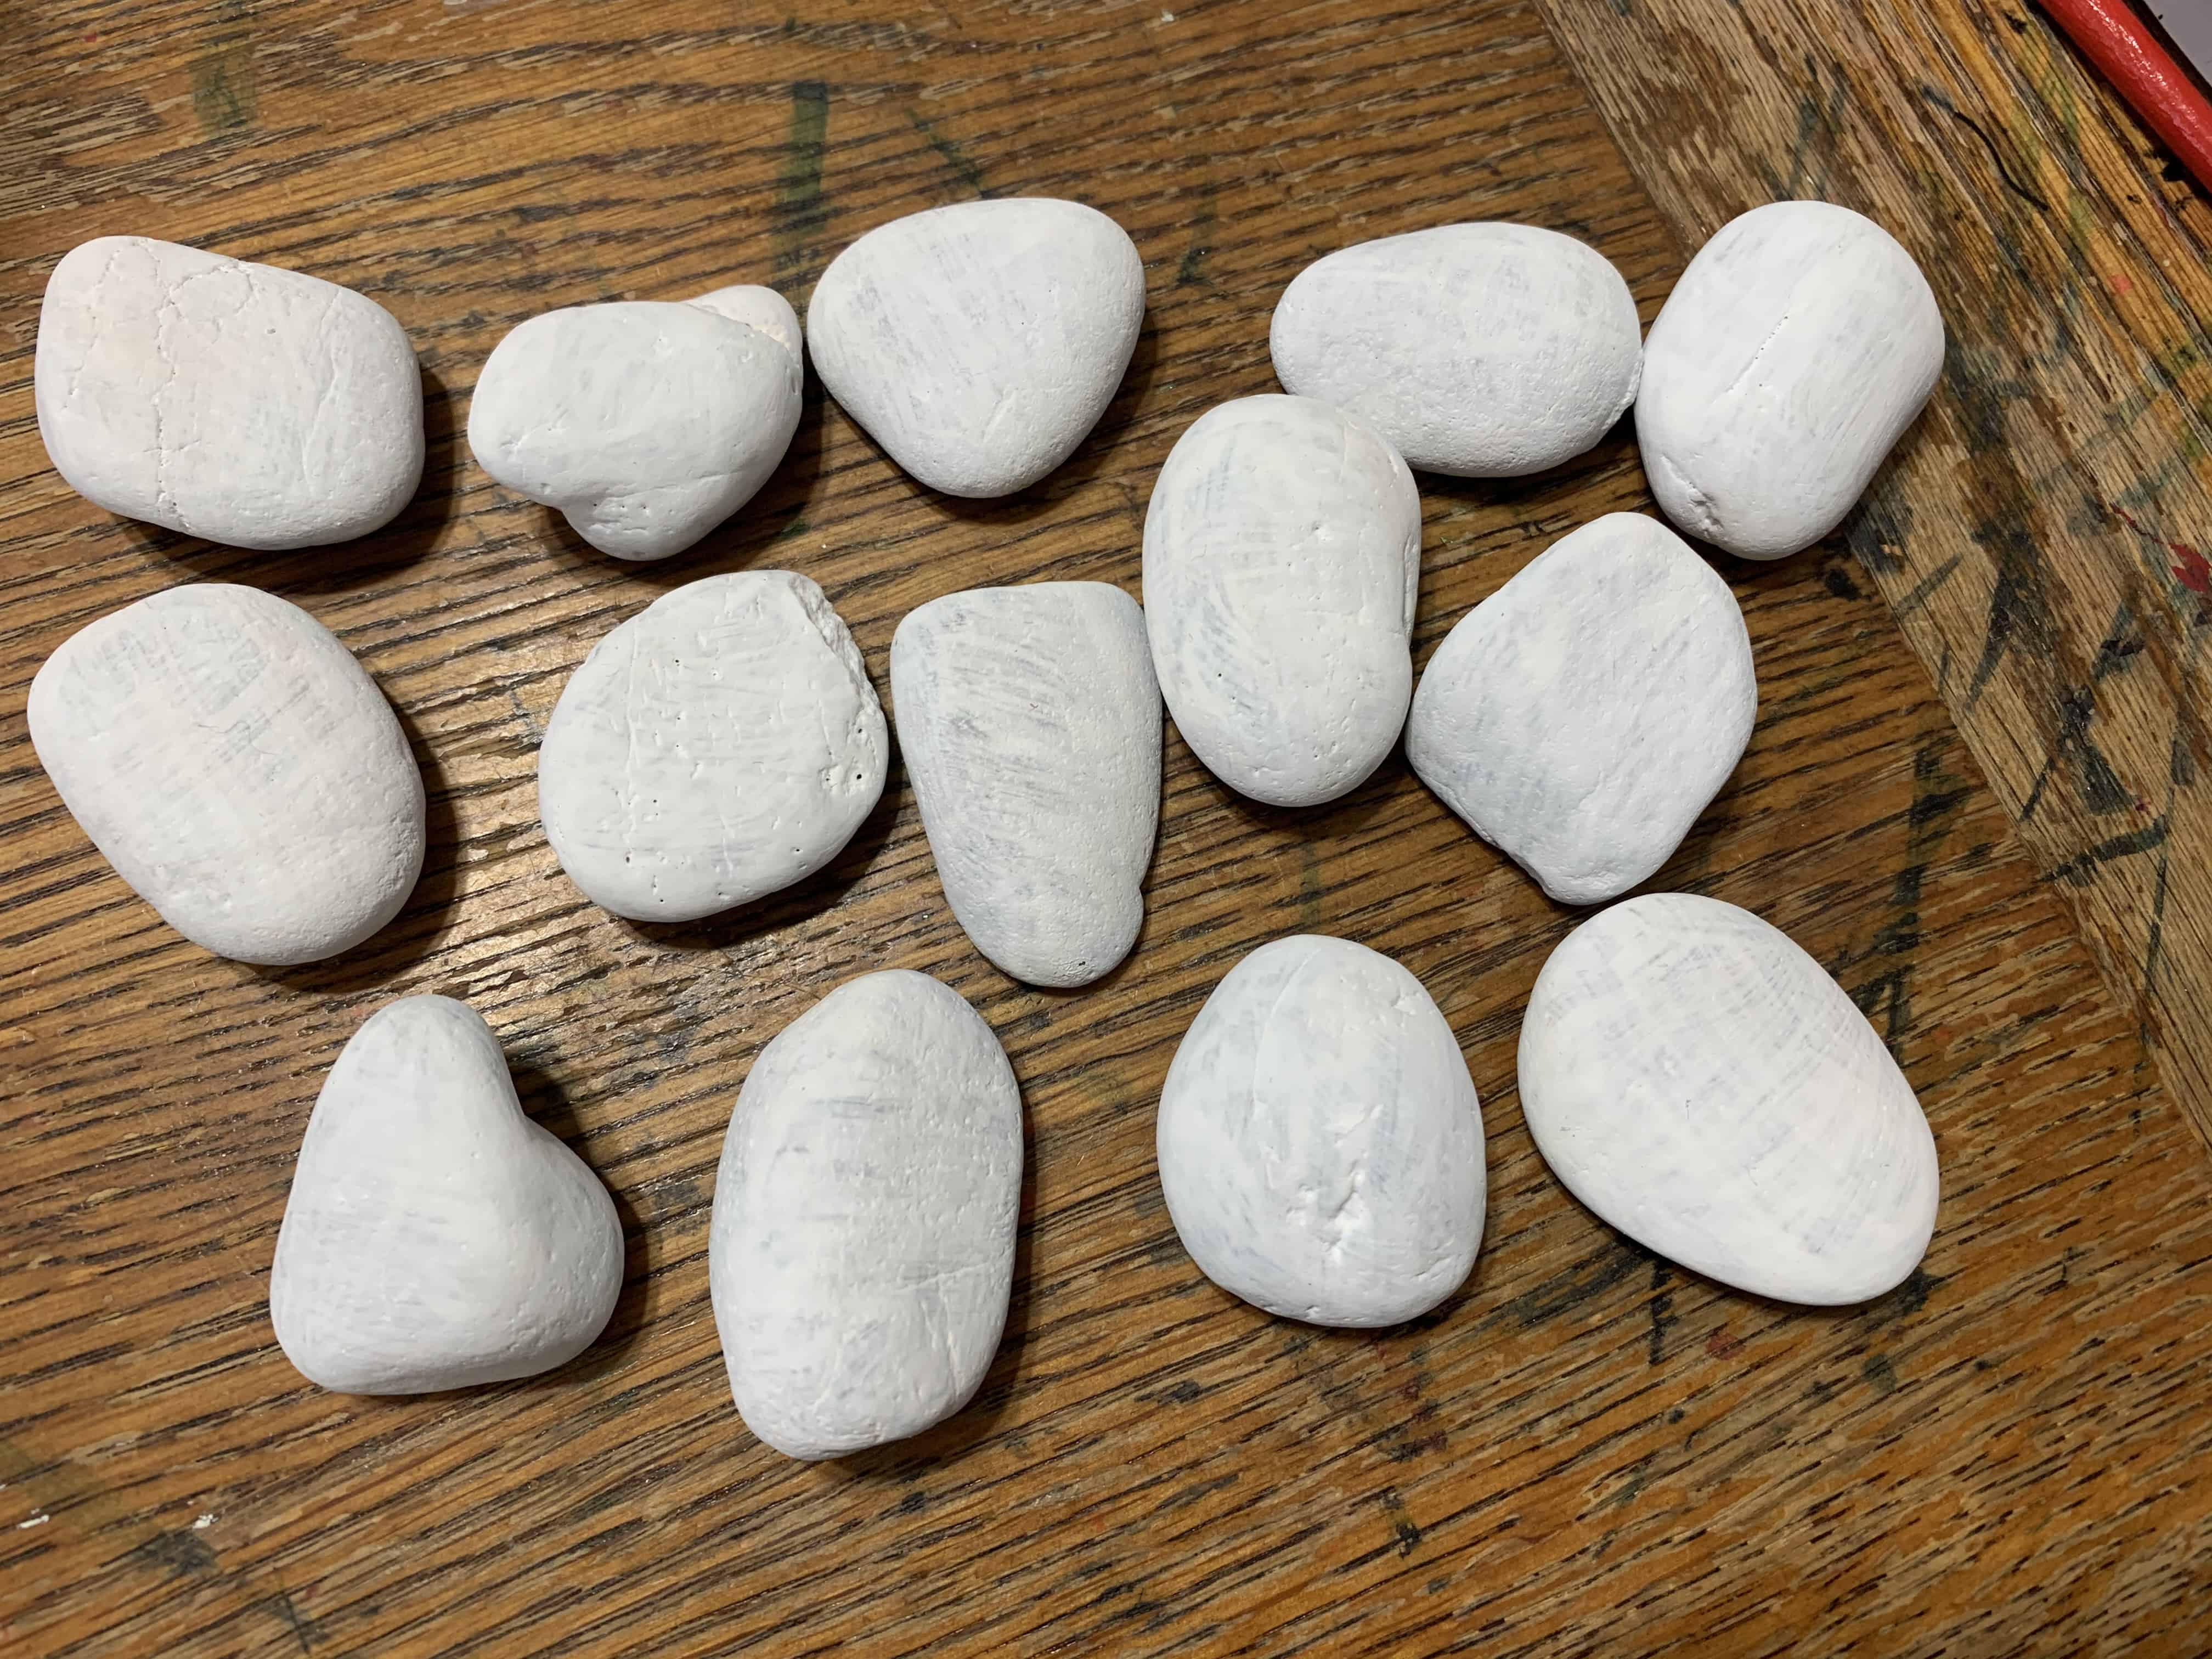
Easter Story Stones are small rocks, or stones, painted with symbols from the Easer story. They are super simple to make, even if you have little artistic skill, and they add a great visual and tangible element to telling the Easter story.
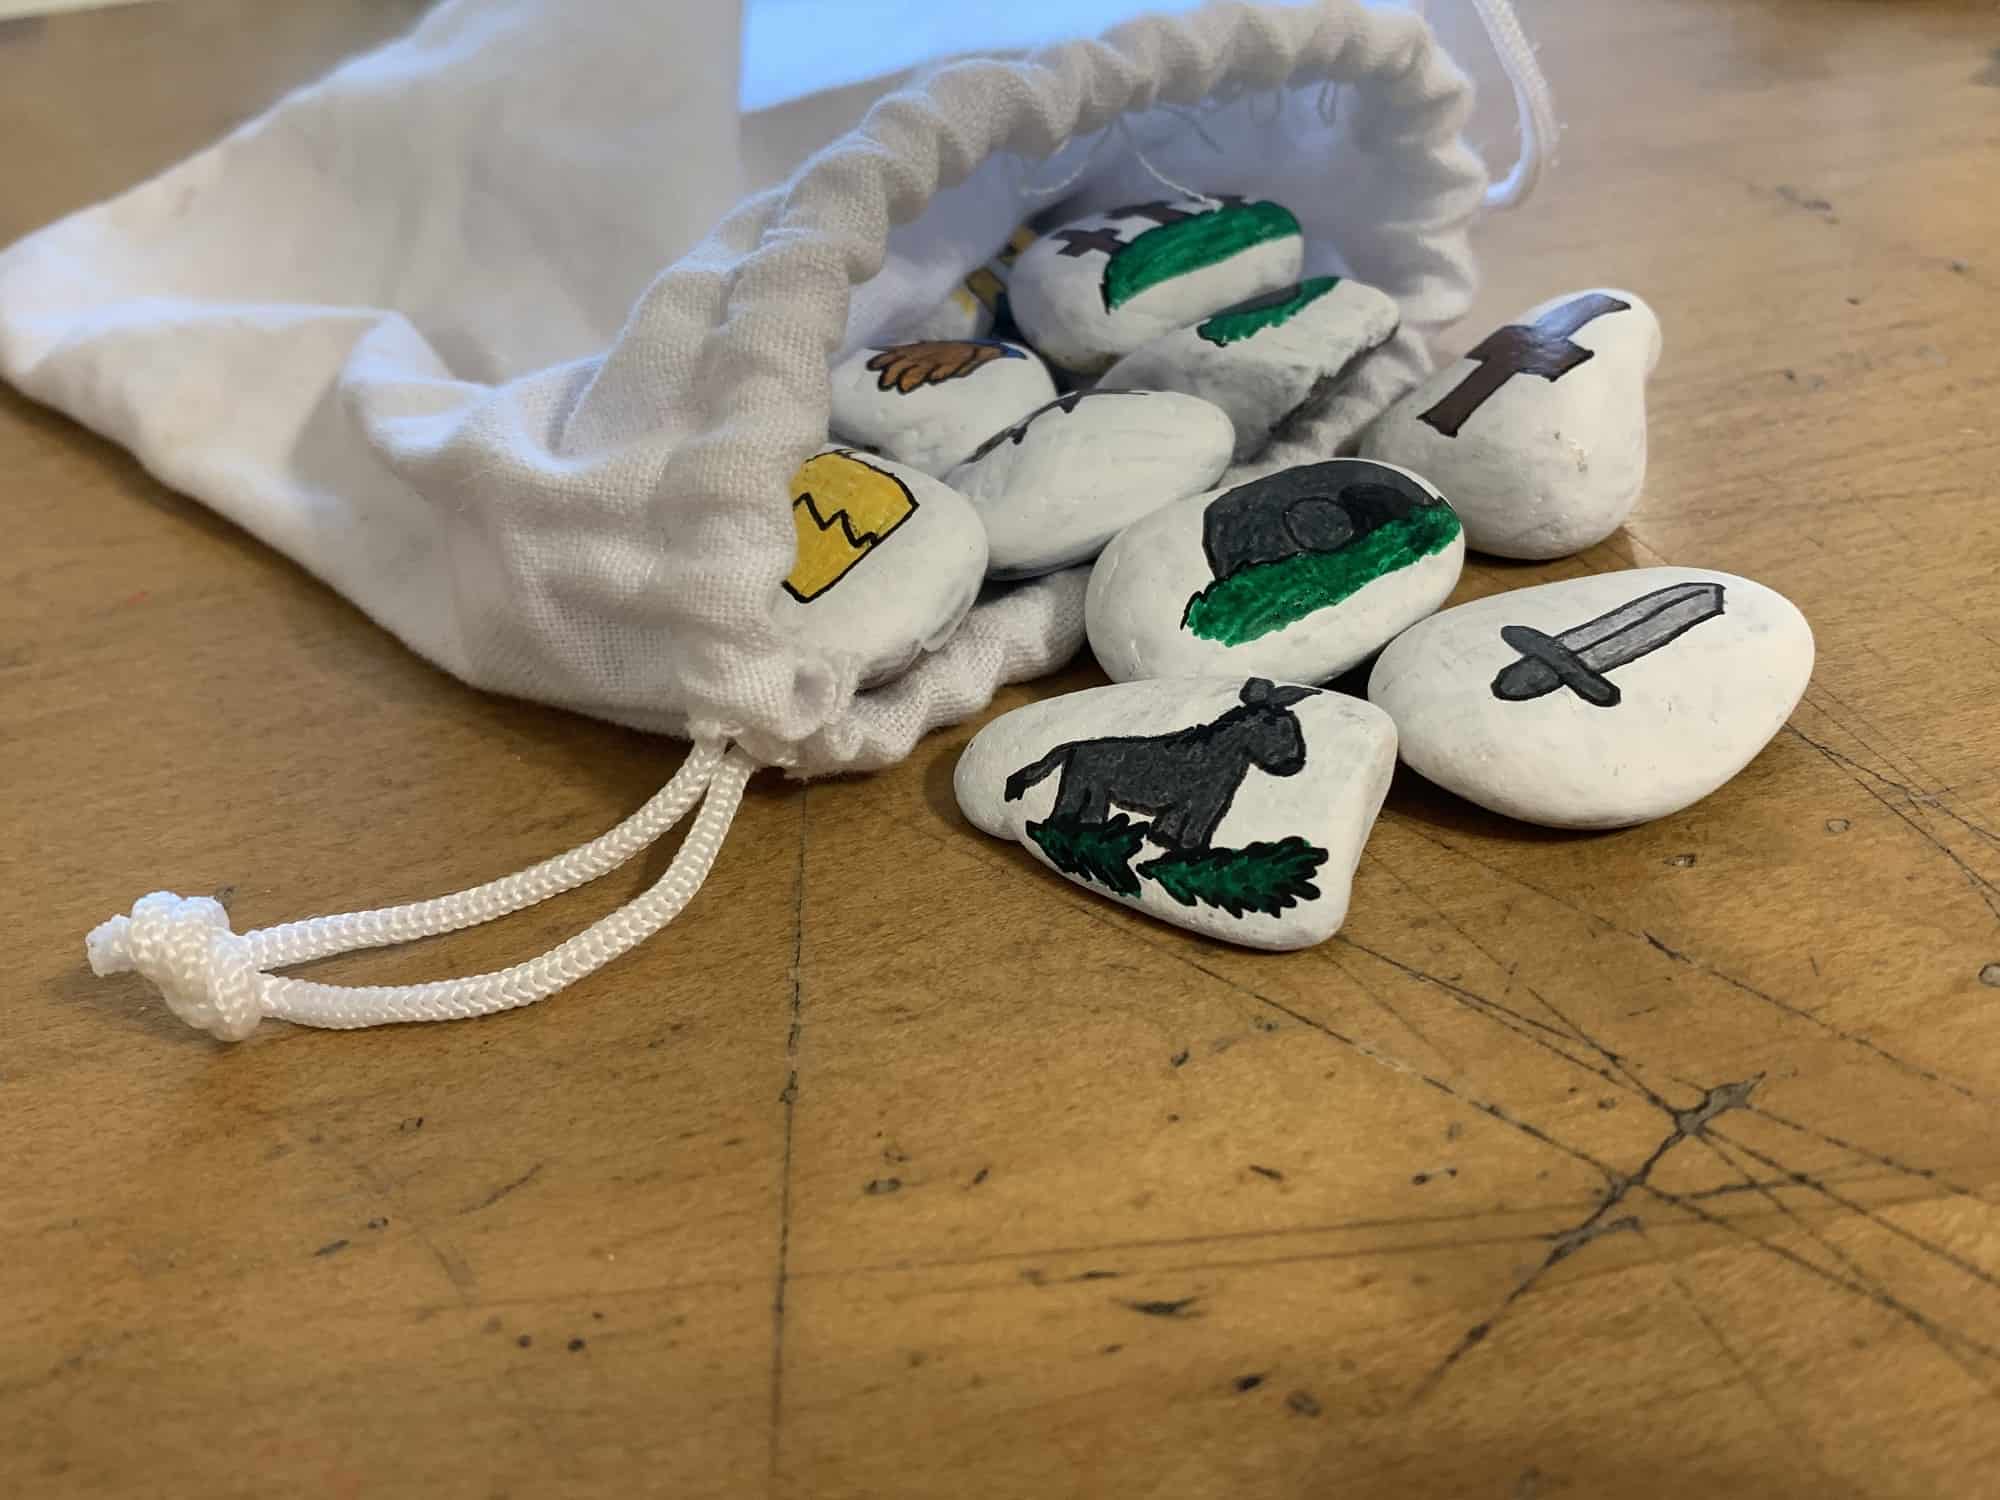
Here’s a picture of our Easter story stones.
How to Use Your Easter Story Stones
You can use your Easter story stones in all sorts of different ways that will get your kids engaged with the Easter story. Here are some ideas.
- As you read the Easter story from your favourite storybook Bible or kids Bible, discuss what each symbol means.
- Use your Easter story stones instead of Resurrection Eggs and have an egg (rock) hunt in your backyard.
- Hide them around the house on Easter morning and have the kids find all the stones. Once they’ve gathered them all, you can use them to tell the Easter story.
- Make your own Resurrection Eggs (with those empty plastic eggs that you can buy at the dollar store) and use your story stones instead of scrounging up all the items needed for the eggs.
- Have the kids put the stones in the right order as you tell (or read) the Easter story.
- Have the kids play with the stones and make up their own version of the Easter story. (This is great for working on remembering the story of Jesus’ death and resurrection, and for putting it into your own words.)
- Make a set to give as a gift.
- Use your Easter story stones during Sunday school or other kids’ ministry to help tell the story of Jesus’ death and resurrection.
How to Make Your Own Easter Story Stones
Making your own Easter story stones is super simple. All you need to do is select some Bible passages and symbols (you’ll find everything that we used for our set below) and paint some rocks to help illustrate the story.
Materials needed:
- rocks/stones
- white paint if you are using dark stones
- paint pens
- pencil
- fabric bag to store your stones (optional)
- spray sealant or Mod Podge (optional)
We made a road trip out of this project and gathered our stones from the beach. Because we used stones found in nature (and not the white craft stones that you can buy), we had to clean them first and then apply a few coats of white paint.
You can buy craft stones that are ready to be painted, or you can gather some stones from nature (which adds an element of adventure to your story stone project, and it saves you some money).
Directions:
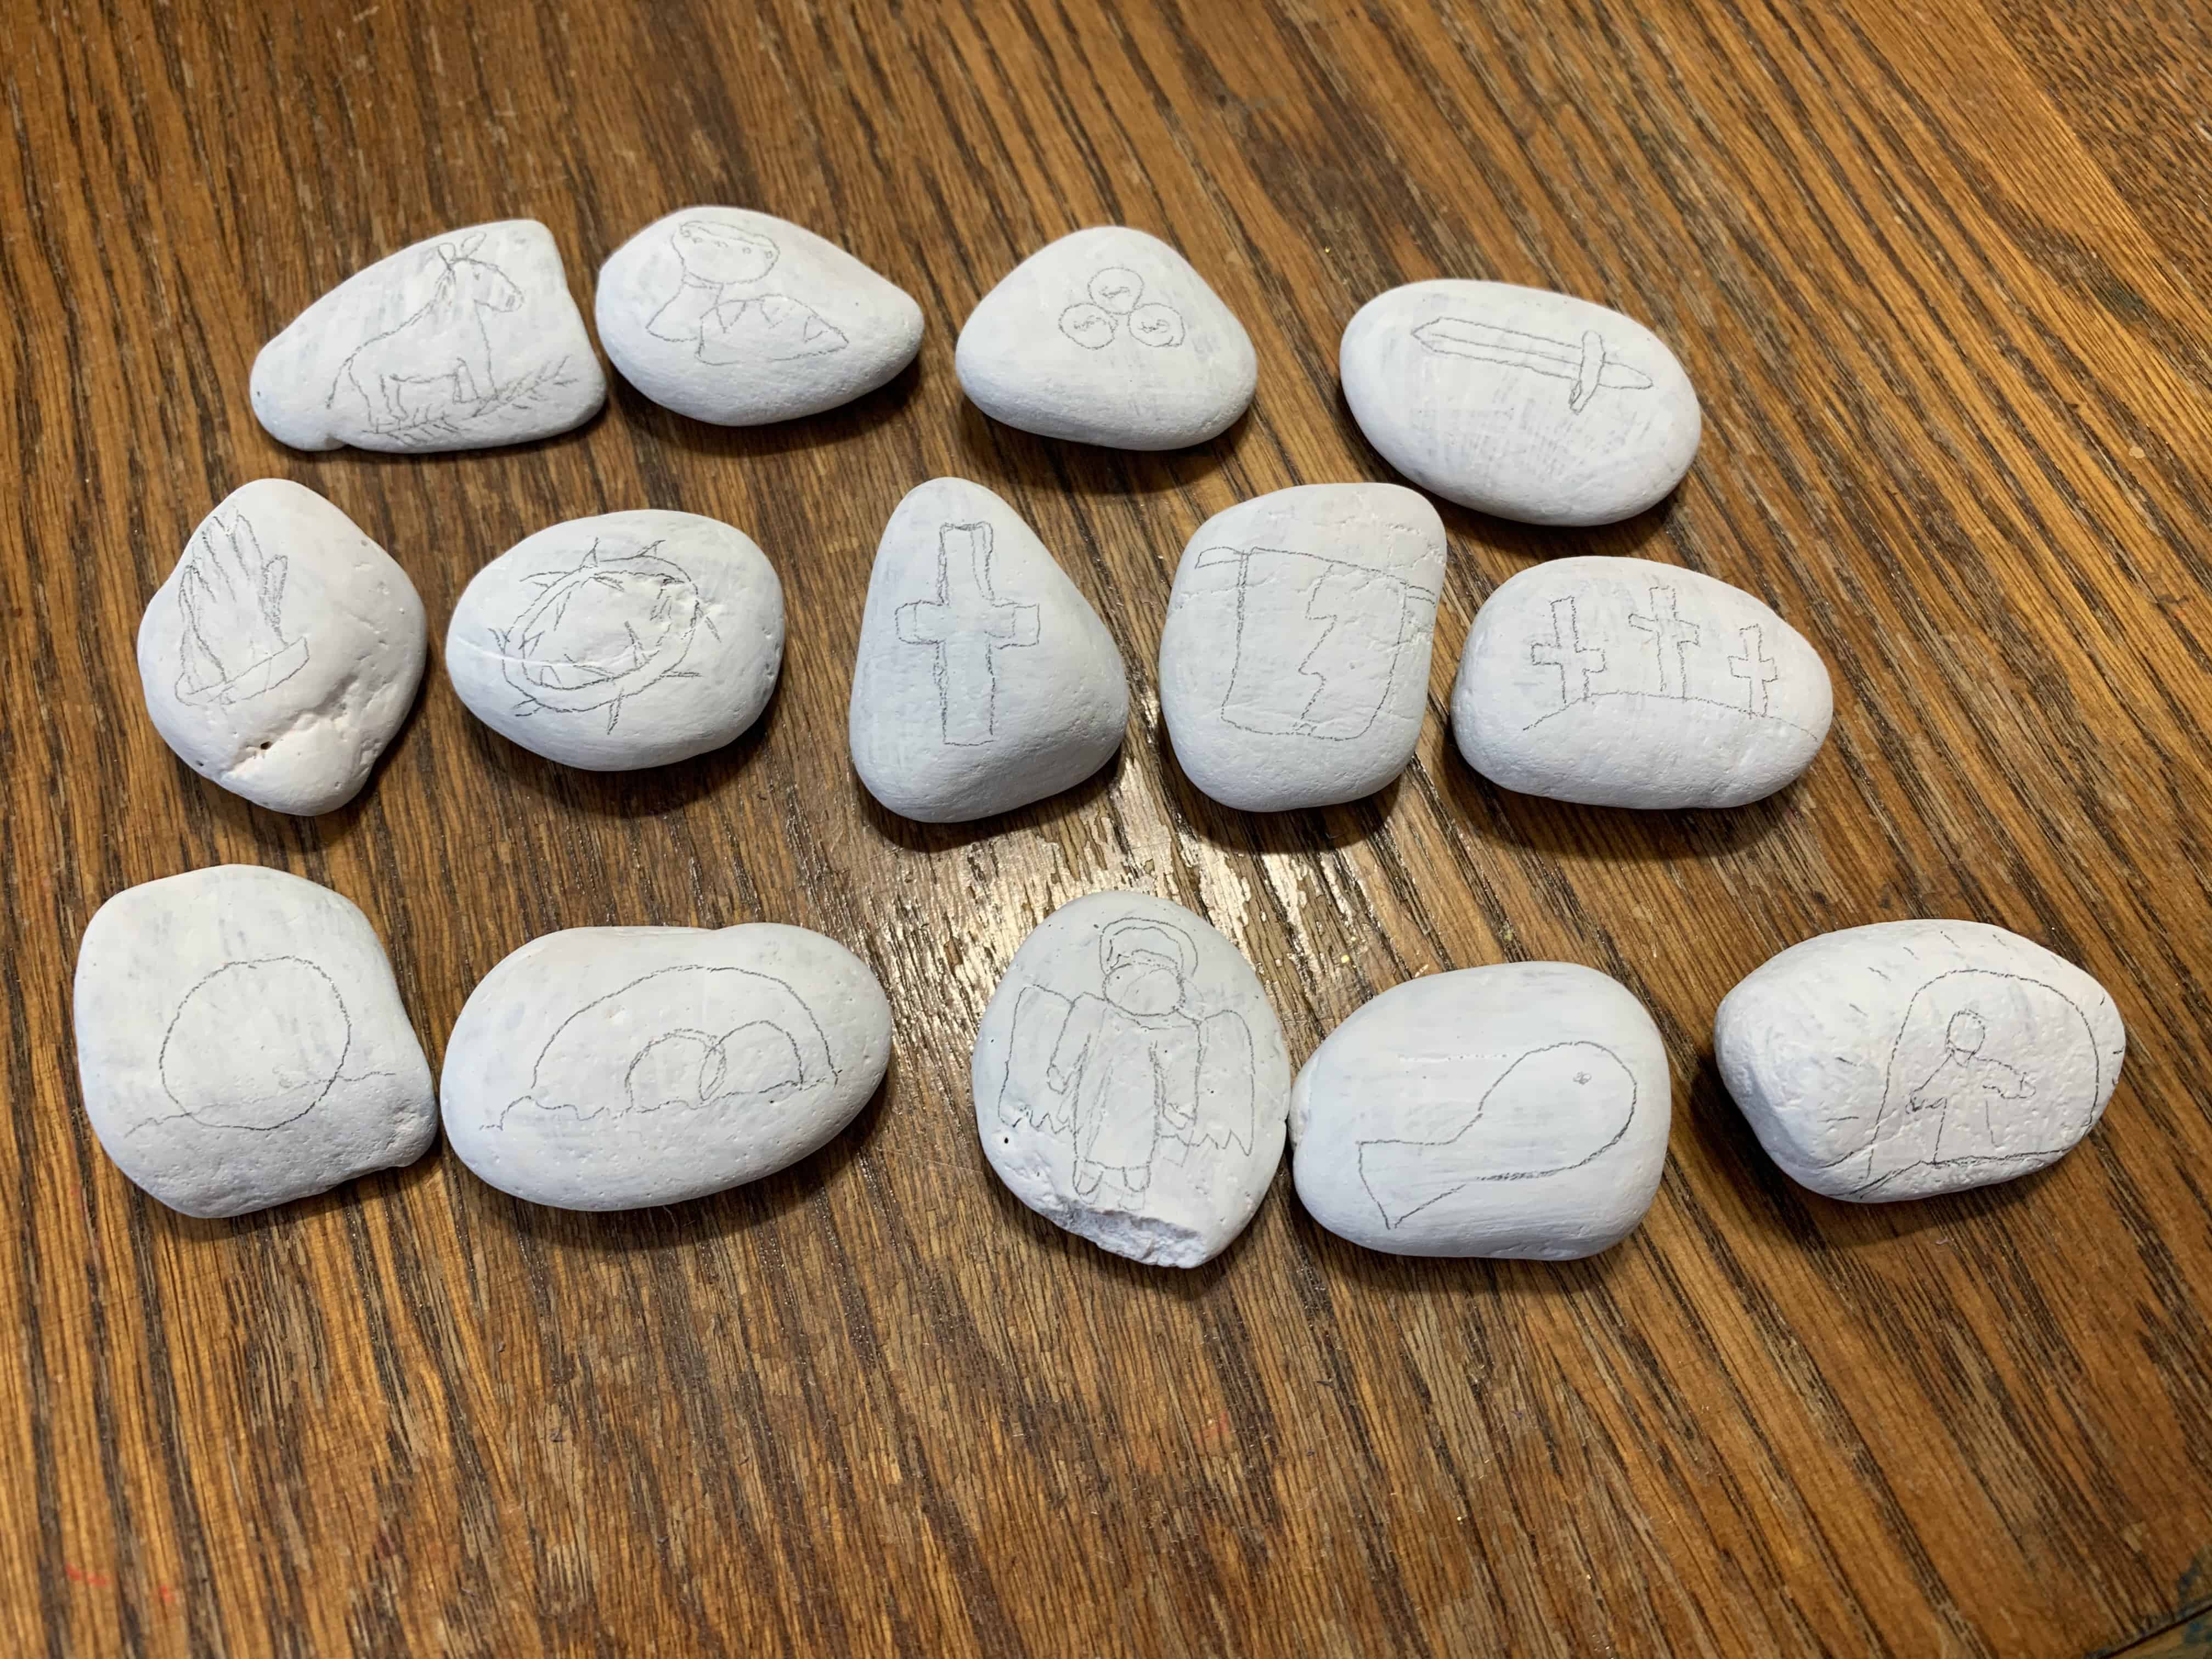
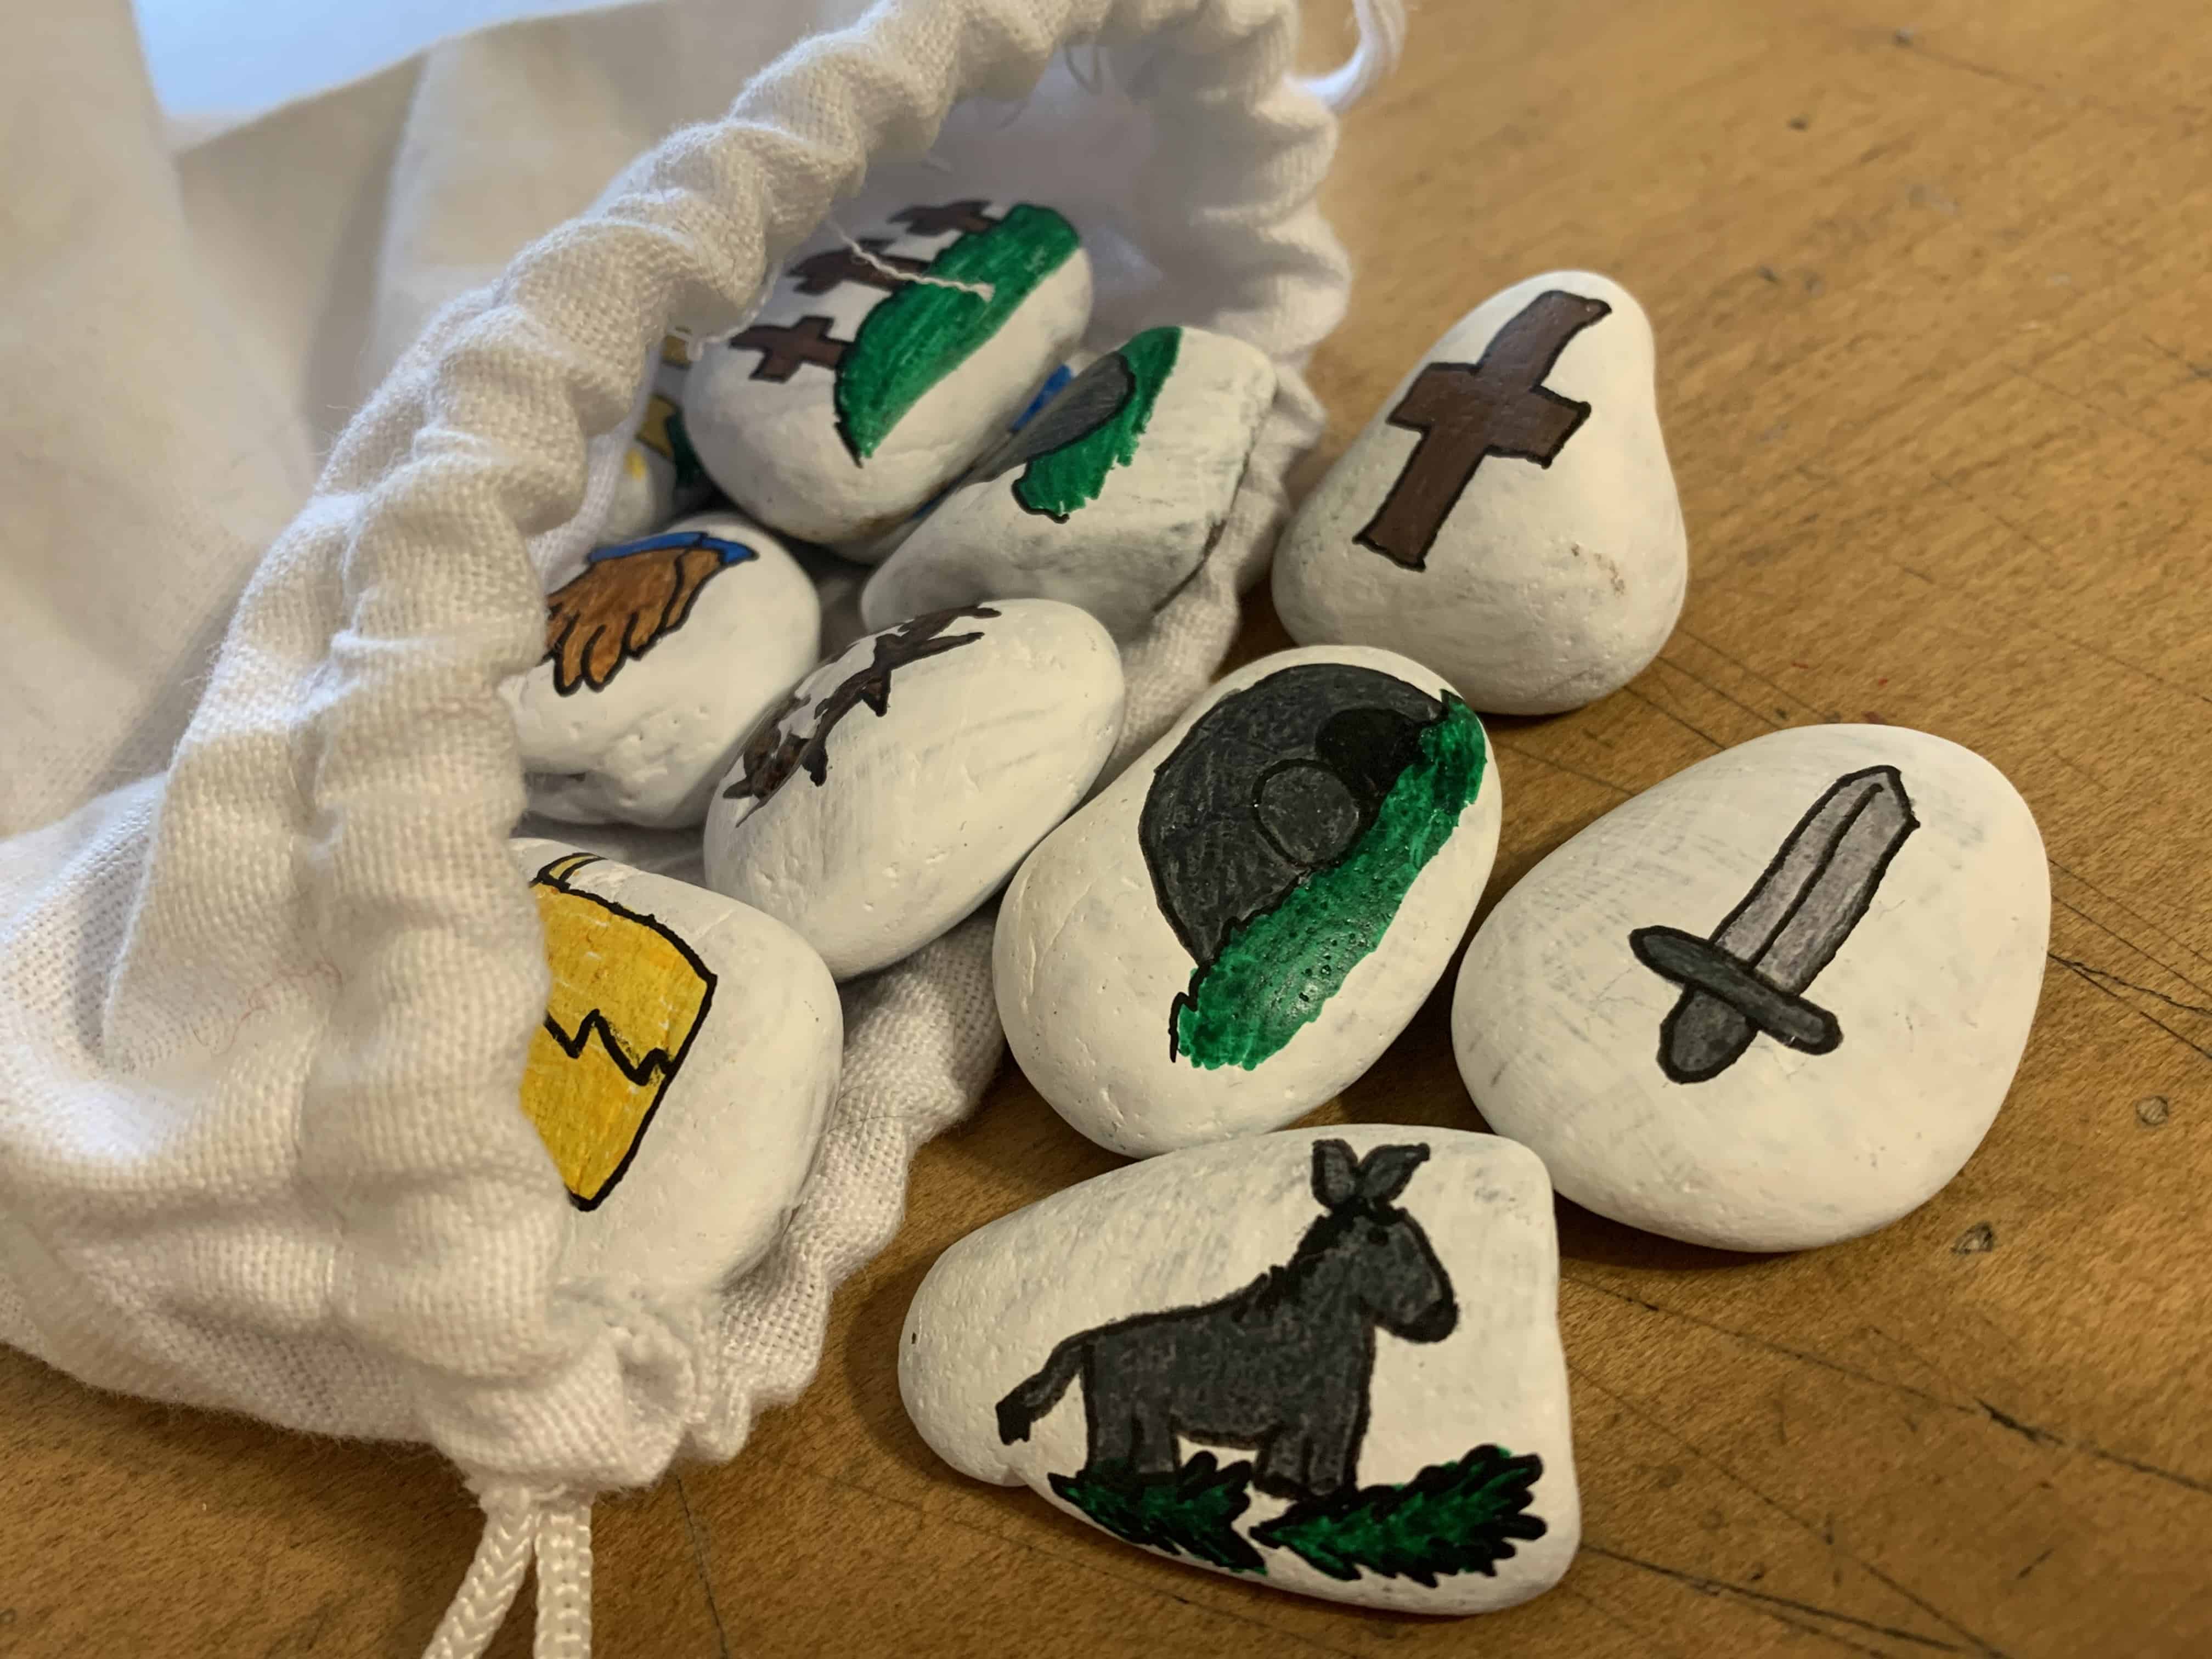
Here are the stones that I included in our set, along with Scripture references for each symbol. You can use this as inspiration for your own set of story stones and make the same ones, or get creative and add your own symbols.
- donkey with palm fronds – Matt 21:1-9
- bread and wine – Matt 26:17-30
- praying hands – Matt 26:36-39
- money – John 18:2-3
- sword – John 18:12-14
- crown of thorns – John 19:2
- cross – John 19:17-18
- three crosses – Luke 23:32, 39-43
- temple veil – Mark 15:38
- boulder – Luke 24:1-2
- empty tomb – Luke 24:3
- angel – Luke 24:4-8
- fish – Luke 24:36-43
- risen Jesus – Luke 24:50-51
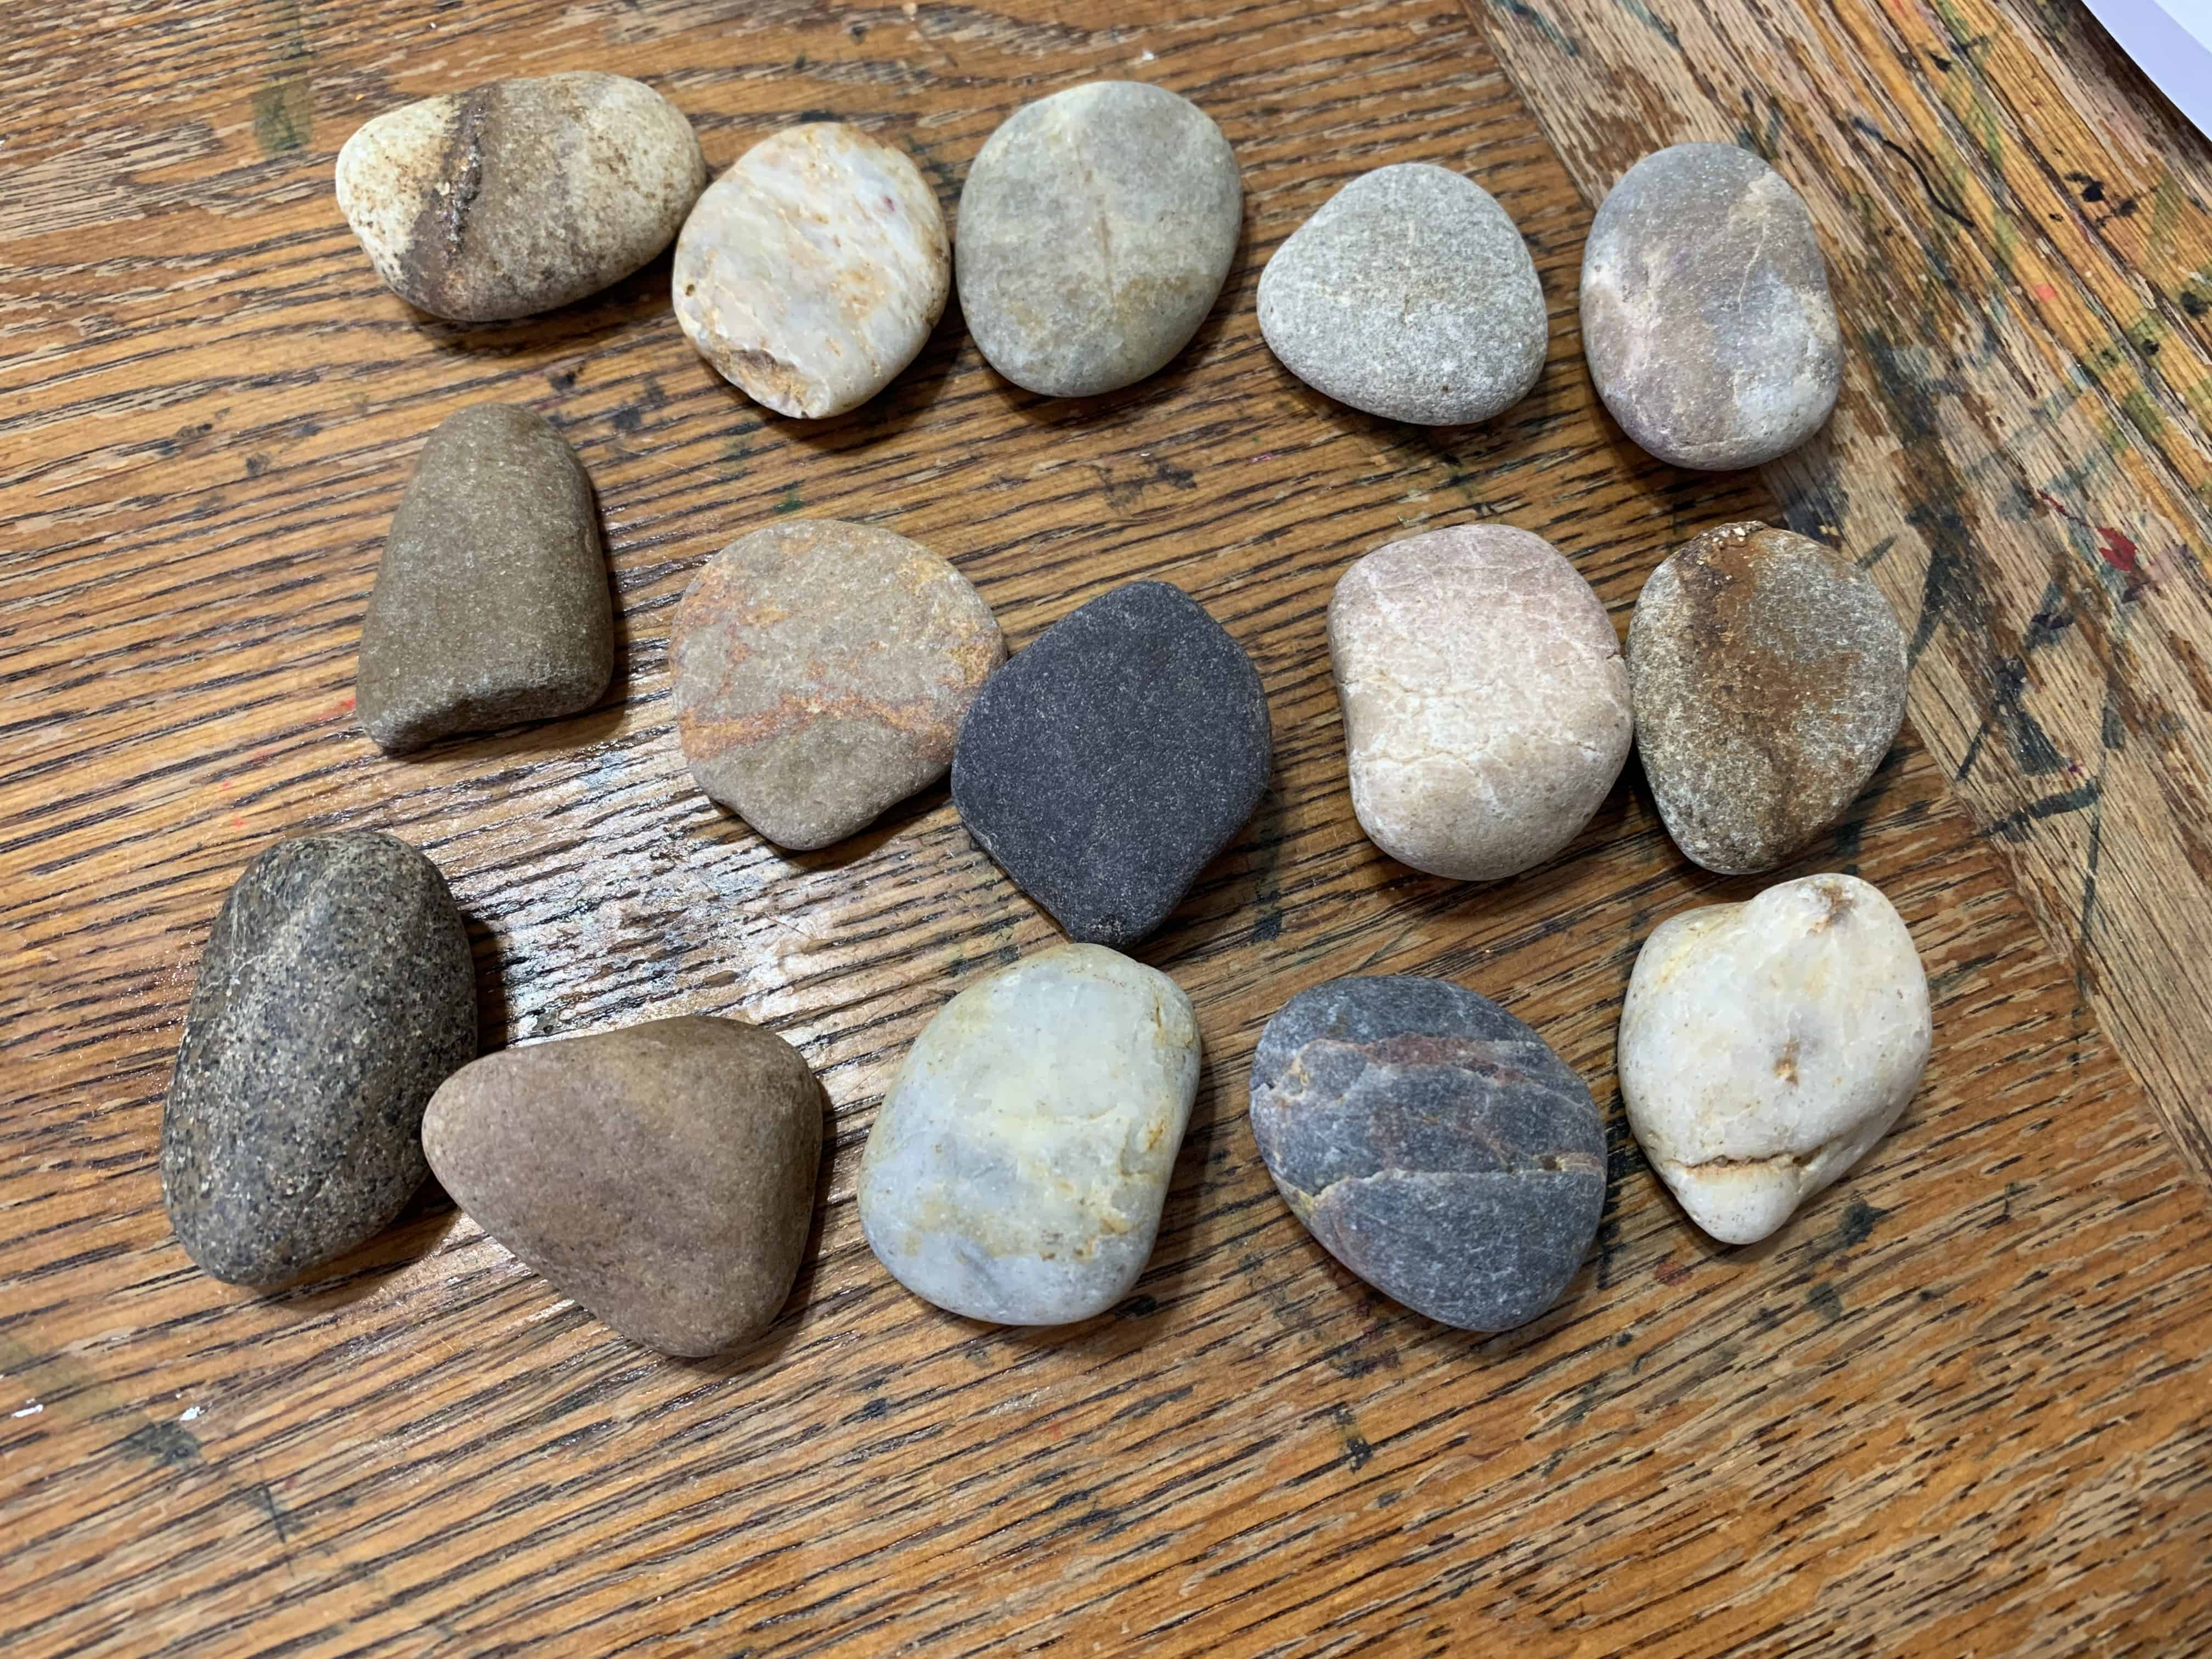
Gather all your supplies. Rinse your stones in warm water and let them dry completely. If you have darker stones (not the white ones), give them a few coats of white paint as a base once they have dried.
Sketch your symbols onto your stones using a pencil.
Use your paint pens to fill in the details of your stones.
To makes your stones really pop, outline all your symbols with a black paint pens.
Optional: once your stones are completed and dry, give them a coat with a spray sealant or Mod Podge.
Your stones are complete! Now use them in creative ways to engage with the Easter story.
Telling the Easter Story with Story Stones
We like to use our Easter story stones to tell the Easter story from memory. You can use yours to do the same, or you can read the story from a Bible (we love the Adventure Bible for Early Readers because it’s true to the Biblical text, but in more kid-friendly language, and with lots of pictures and fun facts). Or, for younger kids, use a story book Bible to tell the Easter story and have them follow along with the story stones.

Here is the basic sequence of events in the Easter story, along with the corresponding Bible passages for each story stone.
Jesus’ Entry into Jerusalem (Palm Sunday)
Palm Sunday is the Sunday before Easter. When Jesus arrived in Jerusalem, riding on a donkey, people laid palm branches on the road and sang “Hosanna”, which means saviour. (Matt 21:1-9)
The Last Supper
The night before Jesus was crucified, he shared a meal with his disciples and told them that one of them would betray him. He shared bread and wine with them, and told them that the bread represented his body and the wine represented his blood. His body would break, just like the bread, and his blood would pour out, just like the wine, but this is the way that God would rescue the world. Through Jesus’ death, he would wash away all their (and our) sins, and heal God’s broken world. (Matt 26:17-30)
The Garden of Gethsemane
After his last supper with his disciples, Jesus went with a few of his closest disciples to a garden to pray. He prayed that he wouldn’t have to suffer crucifixion and death, but he also said that he wanted to do his Father’s will, and not his own. Jesus said that he would be crucified if that was God’s plan. (Matt 26:36-39)
While in the garden, some soldiers came to arrest him, after Judas (who was bribed with thirty pieces of silver) told them where to find him. (John 18:2-3; 18:12-14)
Jesus’ Crucifixion
The soldiers led Jesus away to be crucified. They made a crown of thorns and placed it on his head, calling him “king of the Jews”. (John 19:2)
They nailed him to a cross, between two thieves. (John 19:17-18)
One of the thieves insulted Jesus, but the other one defended him. The second thief asked Jesus to remember him when he came into his kingdom, and Jesus promised that that day, he would be with him in paradise. (Luke 23:32;39-43)
When Jesus died on the cross, the veil inside the temple – the veil that separated the place where only the priests could access God from the rest of the temple – was torn in two, from top of bottom, signalling that there was now no barrier between people and God. (Mark 15:38)
A man named Joseph took Jesus’ body down from the cross, after he had died, and laid it in a tomb. Roman soldiers rolled a giant boulder to block the entrance to the tomb and guarded it, to make sure that no one could get in or out.
The Empty Tomb
On the third day, just before sunrise, Mary Magdalene and some of the other women went to the tomb to wash Jesus’ body. When they got there, they discovered that the stone that was blocking the entrance had been rolled away. (Luke 24:1-2)
When the women entered the tomb, they discovered that it was empty: Jesus’ body was not there. (Luke 24:3)
They encountered an angel who told them that Jesus was no longer there, that he had risen from the dead. The angel told the women to go tell the other disciples. (Luke 24:4-8)
Later that day, Jesus appeared to the disciples. He let them touch him to show that he was real, and he ate a meal of boiled fish with them. (Luke 24:36-43)
The Ascension
After Jesus stayed with the disciples for a while, he told them that he was going to leave and return to heaven, but that the Holy Spirit would come to be with them. Jesus blessed them and he was taken up into heaven. (Luke 24:50-51)
Story book Bibles to Tell the Easter Story
Using a story book Bible to help tell the Easter story is a great idea for adding visuals and dramatic flair. Often, story book Bibles have a condensed version of the Easter story as well, which helps for smaller kids with shorter attention spans.
Here are two story book Bibles that would be excellent companions to your Easter story stones.

The Jesus Storybook Bible – This is one of our absolute favourite story book Bibles. The Jesus Storybook Bible is only missing the part of the story about Palm Sunday: Jesus riding into Jerusalem on a donkey. You can add this part of the story yourself, or you could omit it. (The story, especially for younger kids, works perfectly fine without it.)

The Brick Builder’s Bible – This is a great story book Bible for kids into Lego. All the pictures are Bible scenes made from Lego. And The Brick Builder’s Bible contains all the pieces of the Easter story that we used for our stones, from Palm Sunday through to the Ascension.
What a great idea! I don’t have kids that I can really do this with, but I am going to keep it in mind. It’d be great for a Sunday School class, too.
Thanks Ashley. And yes, this is great for Sunday school! I teach religion to junior school kids and once we can do regular in-person lessons again, we’ll be using these. 🙂
This is excellent. Thank you for this idea. I really want to move away from the use of eggs, so this is perfect.
I’m glad you like this, Tinelle! We love these story stones in our house. 🙂
Hi Rebecca,
I love these! I’m a long-time early-childhood educator and fan of children everywhere. I’m tucking this idea away. What a creative, hands on opportunity to introduce the Resurrection!
He is risen!
Blessings,
Tammy
Thanks Tammy. I’m glad you like it.
I love this idea – a great way to get the Easter story across to children! It is popular here to paint pebbles and leave them for others to find so enjoyed reading your tips for creating – I will have to look into the paint pens.
Thanks Sharon. We’ve painted stones before with just regular paint and getting the paint pens totally changed the game! (I can actually do detail with the pens.) Leaving Easter story stones out and about for people to find would also be a really neat idea.
I love this idea! What a great interactive way to remember the story of Jesus with children of all ages.
Thanks Maureen.
We have some different artistics ideas we really enjoy at Easter time – these are so fun and creative! Thanks for the great idea!
Kara
amidstthebroken.com
Rebecca,
This is such a great idea! Would it be okay if we shared this site and one of your images of the craft in a newsletter for the parents at our church to have as an Easter activity to do with their children? Thank you!
Hi Tabitha. I would be delighted to have you share this resource. 🙂
Rebecca,
I love this idea! I was wondering if I could receive permission to share your site and an image in our children’s ministry newsletter that our church sends out. I think our parents would love to do this with their families. Thank you!